Building Mango and the Infinite Universe Game
NOTE: The first two sections discuss the project on a higher level and the last few cover the lower level systems stuff.
Intro
At the end of the last development update, I briefly talked about extracting the work I had done so far into some kind of engine. I kind of came to this point after realized that for the most part, I was feeling pretty comfortable using OpenGL to render in 2D. More importantly, I had done a decent amount of work with 3D rendering and I started understand what an implementation of a 3D system could look like for the engine in the future.
This is really going to be more of a collection of my notes over the course of the last 30 days while piecing together this engine. It’s intended mostly to solidify and put into writing some of the design points I’ve been debating in my head. A month isn’t a lot of time, but I’ve been working on project virtually non-stop, so there’s a decent amount to show. Since the last update, I’ve written 3 engine prototypes before finally arriving at the current iteration.
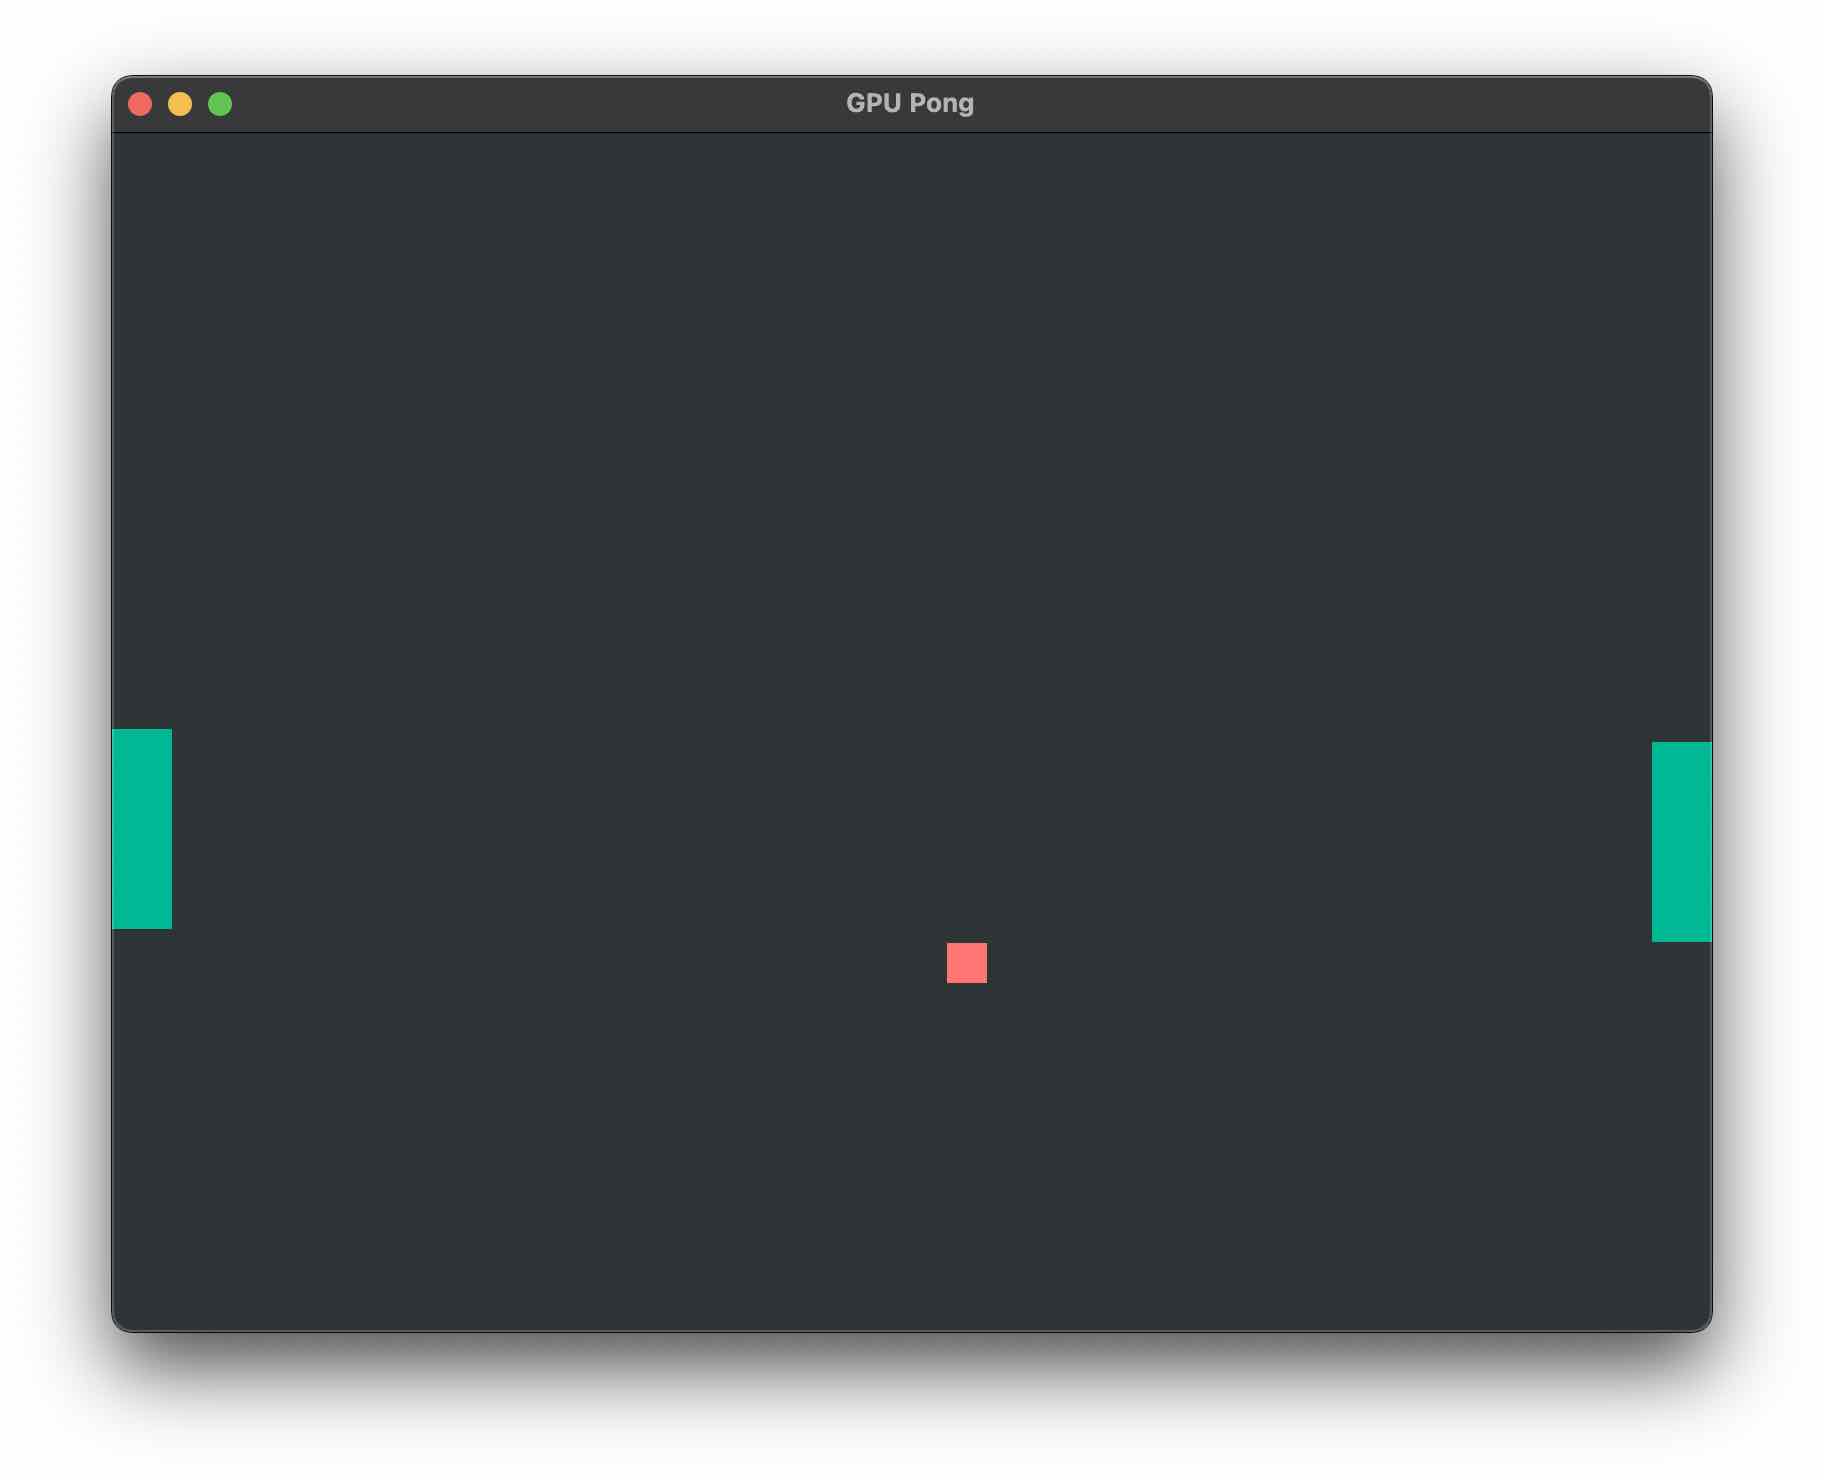
The first engine was written in Go, but I eventually gave up on this while trying to put together the first small demo. Looking back, I jumped into this a bit too quickly and my lack of knowledge in Go’s package system is really what held me back. Building any kind of useful Entity Component System was going to be a challenge going down this route. Of course, the natural next step was to switch to using Java and LWJGL (by this point I’ve written an OpenGL wrapper in both Go and Java). Java is still the easiest language for me to understand: I still think and write pseudocode in the language. This iteration of the engine was a huge improvement, especially in regard to the ECS. Using this iteration of Mango, I wrote GPU-Accelerated Pong in under an hour:
I didn’t really enjoy building this version of the engine. While I do like working with Java there were a couple reasons I decided to switch back to Go. Java compile times were slower which isn’t a huge deal, but I found working with Maven to be really finicky and I realized I was wasting a lot more time dealing with language and platform-specific problems rather than project-related problems.
Perhaps the biggest motivator for moving back to Go was just realizing that I didn’t love being forced down the OOP route. I’ve seen many developers, and especially those who make games, switch from traditional OOP structure to a more data-oriented approach. Spefically, Randy and jdh were pretty big sources of inspiration for this. This paradigm took a bit of time to get used to but once I understood it, switching back to Go was the right decision. Around this time, I started looking at more C and classless C++ graphics projects on GitHub to familiarize myself with the approach.
Building an Infinite Universe
One of the mistakes I made early on was to prioritize development on Mango rather than a project that uses Mango. I’ve seen other developers encounter this problem but of course I thought I was immune to this. I was not. Becuase of this, the first few iterations of Mango lacked any real direction. As a result, the final Go prototype (which has now been rewritten into the current version) has been built alongside a game project.
At this point, the content of the game isn’t too important since it’s basically a glorified tech demo. It’s heavily inspired by No Man’s Sky and other proceural exploration games. It’s set in an almost infinite universe of stars and players will have the ability to fully explore any planet within each solar system. As of now, the premise revolves around being lost in space and having to find your way home. If done right, I think the tech and the game combined can really help the player feel the sense of scale and distance within the universe.
Using the current version of Mango, it’s pretty easy to set up a tilemap system.
Once we have defined sector sizes, it’s easy to add panning using x and y offsets. These offsets can then be used to calculate the position of the sector within world space itself. Realism in terms of start positioning was somewhat important to me because a completely non-procedural system of generation yielded results that had no discernable pattern, which is not entirely realistic when it comes to objects in space. In the real universe, objects exist where and how they do as a result of a sequence of events in it’s history. This remains true in the game: the same starting seed results in the exact same universe being generated every single time because the sequence of events is always replicated the same way. In order to get to this state, we can use the functions of the tilemap to map a Perlin Noise function in order to get valid solar system positions:
| Raw Noise | System Map Adjusted Noise |
|---|---|
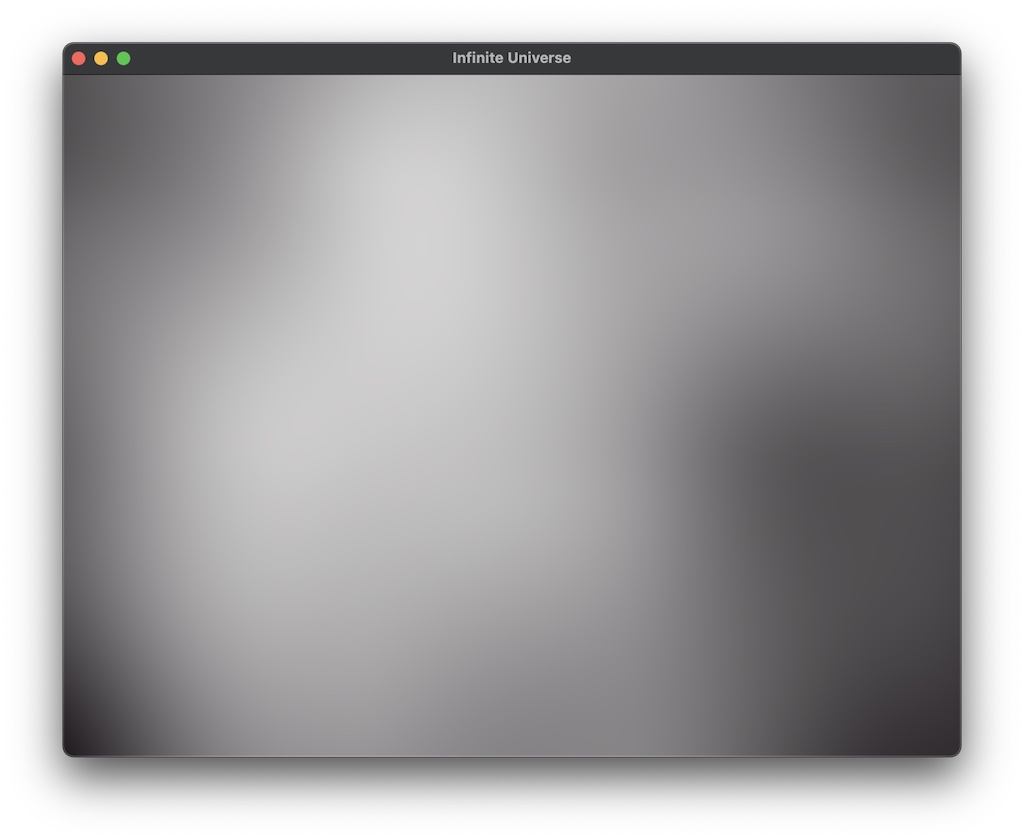 |  |
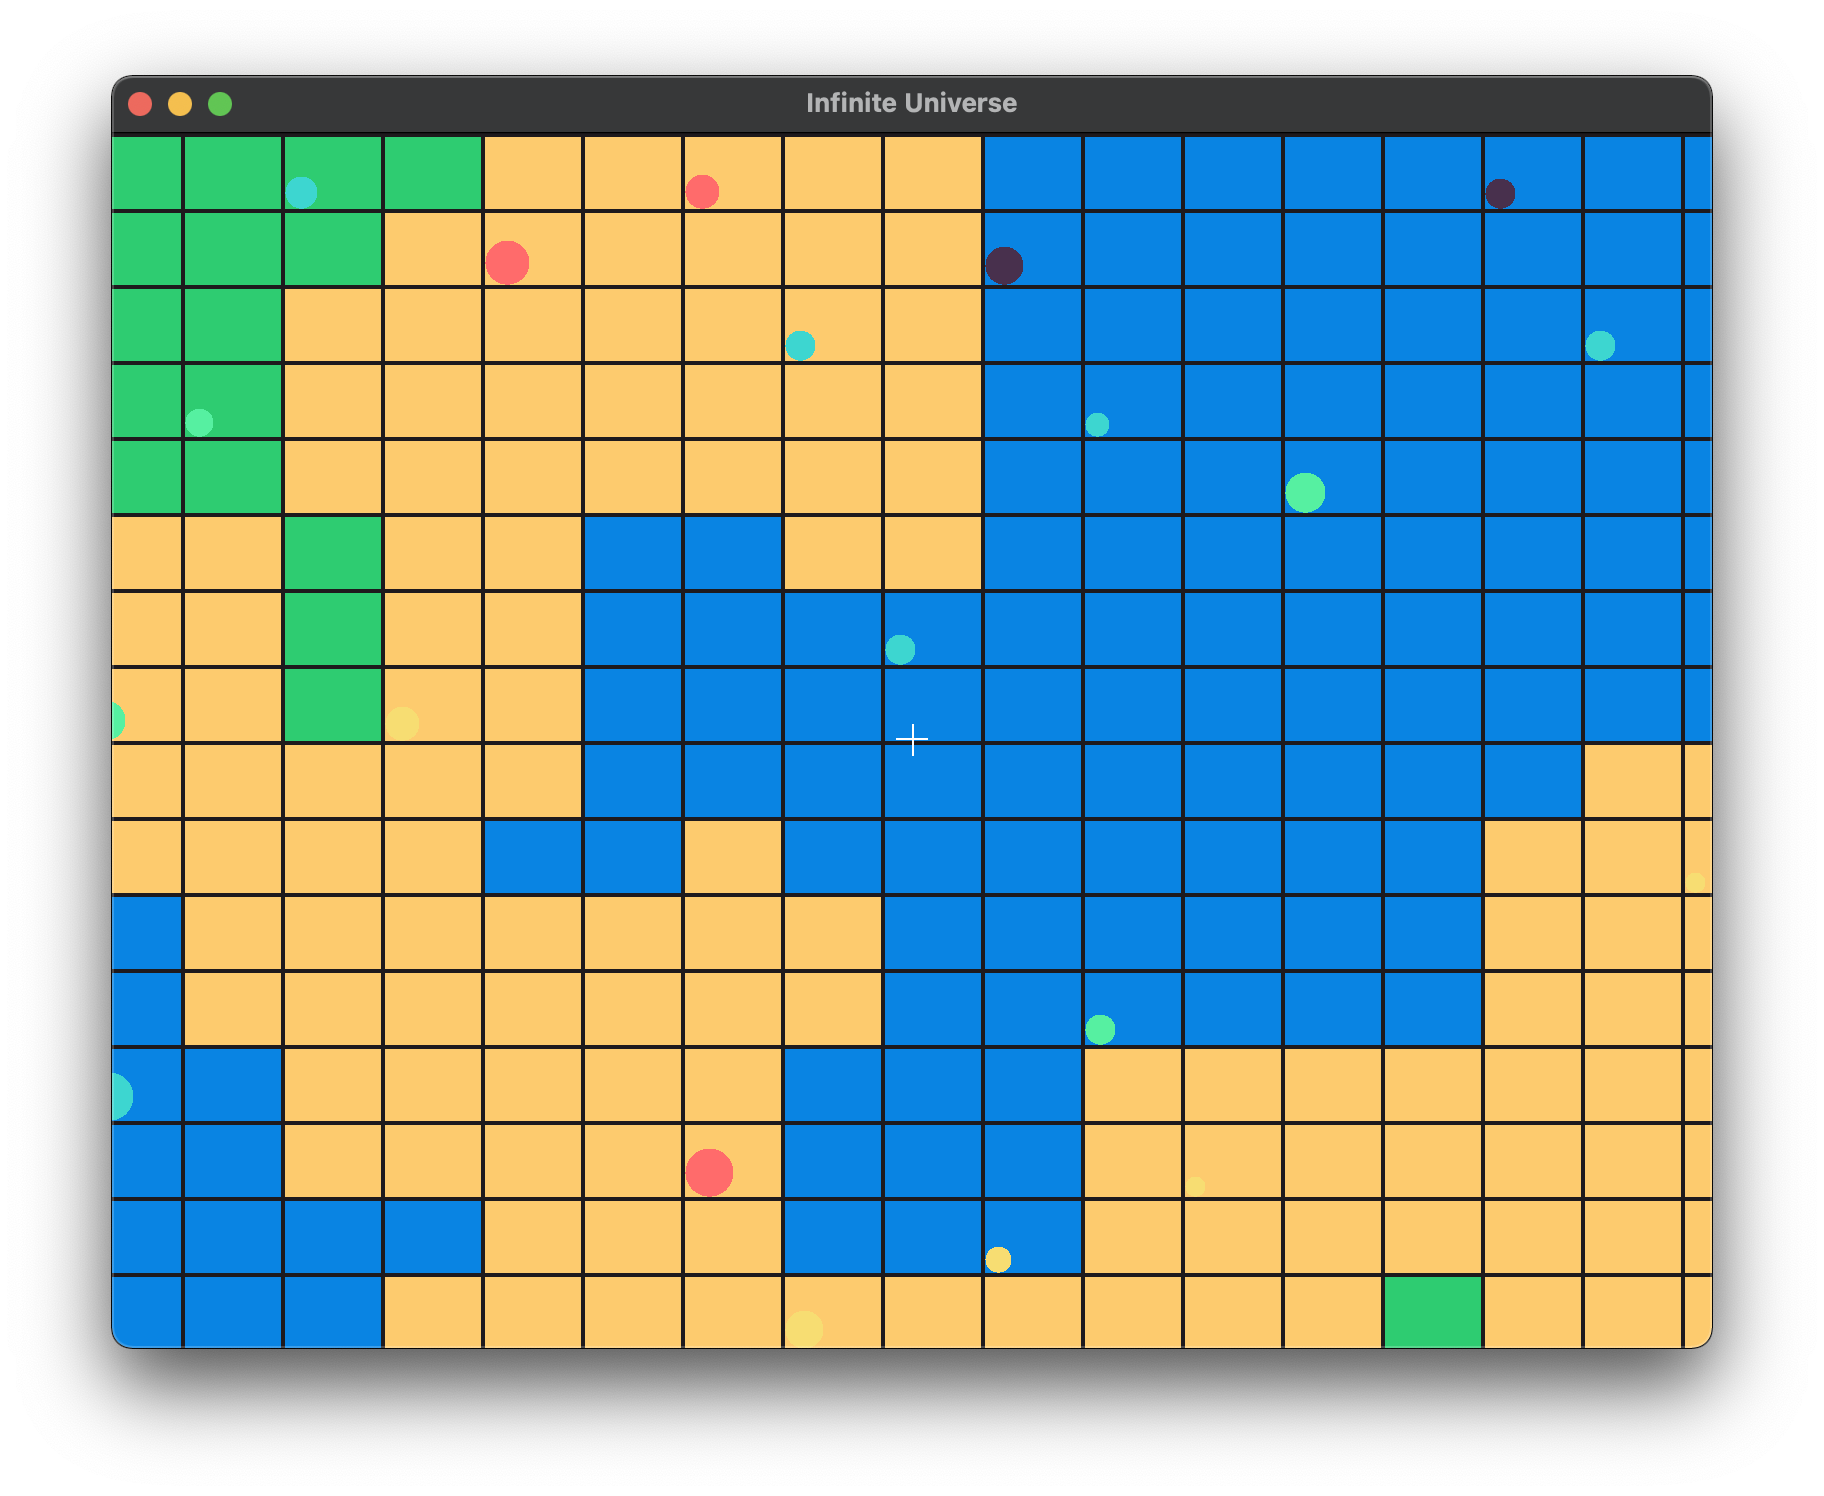
This same concept can be applied for planets as well. The following shows an early tilemap prototype of a planet surface with the system map overlaid. Just a quick note: the photos above and below are from the final prototype Go engine. I’ll discuss the current version in the next section and in future articles in further depth. While the terrain for the actual planets will be built using Simplex rather than Perlin Noise, we can still map colors to basic heights within the world. Below, I’ve split the terrain into 3 different classes based on height: water, sand, and grass to just display a quick example.
The Engine
One of the reasons for building Mango in the first place was so that I have a framework to build graphics prototypes and simulations, which is something I do every so often. Additionally, I’ve always wanted to build games and game engines so it made sense that this became my next project. The first was just raw performance and flexibilily. Learning OpenGL has allowed me to render directly using the GPU which is significantly faster. Writing GPU-accelerated programs lets me render complicated 3D graphics to the screen. This, coupled with a language like Go which compiles to C and runs at a much lower level, allows me to put together high-performance programs in an easy and understandable way. Building this framework myself was also extremely important because it allows me to have a complete understanding of the application. I no longer have to go searching through documentation and things tend to work on the first try which is a great feeling. I can also add exactly what features I need without worrying about including the bulk of features I don’t need in a build. Really though, the most important part of this is actually learning how to build good software. A project like this will definitely expose a lack of skill or expertise in certain areas which valuable information to have.
Ok, now into the weeds a bit. To really understand how this project is put together, it’s important to understand the goals. While it’s mostly meant for personal use, the engine is designed in a way that allows even those who are just starting to code to get an application up and running. This is important because I do want to allow public use of the engine once its in a more stable state. To create a program, the user just has to call the Init() function from the mango package. Following design patterns from many other Go packages, I store the engine as a singleton, which means only one instance of the engine can be running at a single time. The entire main function for the Infinite Universe game just boils down to:
func main() {
  mango.Init(core.RENDER_MODE_IM)
  mango.CreateWindow(800, 600, "Infinite Universe")
  mango.IM.ConnectScene(&scene.PlanetMap{800, 600})
  mango.Start()
}
Mango uses GLFW top manage cross platform windows alongside OpenGL 3.3 in the backend. This is one area of the project where full flexibility wasn’t entirely possible and I also don’t have any use cases for additional rendering APIs so I don’t see any point spending the extra effort making it work. OpenGL 3.3 is pretty good for everything I need to do. One part of this system that I’m not too happy with is the dependence on window creation for full GL context initialization. Based on the way I’m understanding it, we can’t actually create an OpenGL context without a window to point the context to. Becuase so much of the engine’s capabilities (especially now in its infancy) depend on the graphics context, a large portion of the setup occurs not during the Init() function, but after the window is created.
Game Layer
The game layer sits at the highest level of the project and is entirely specified by the user. In order to start writing game logic, you must point the engine to a struct that implements either the SCRIPT or IM_SCRIPT interfaces depending on which rendering mode your application uses (more on this below). This means that your scene struct must contain at least an Init() and Update() function. A simple scene struct might end up looking like this:
type GameScene struct {
	// Scene properties
}

func (scene *GameScene) Init() {
	// Do all scene initialization here
}

func (scene *GameScene) Update(deltaTime float64) {
	// Update game logic here
}
This structure would be familiar to anyone who has used Unity, Unreal Engine, or one of the many other engines that are publicly available. The Init() function is called only once: when it gets attached to the scene. When the ECS is fully complete, this function will have access to every other component that is already owned by the entity or that exists in the entity’s component buffer. A basic version of this was implemented in the Java version of Mango but I expect it to be drastically rewritten to support the new data-oriented ECS that I’m putting together. I’m not going to go into the program flow here because it should be pretty familiar and many people have covered it better than I could.
Imgui Layer: Efficient Tools and Debugging
One feature I knew I wanted implemented early was some kind of debugging system. For me, this goes beyond a simple logging system and includes visual debugging tools as well. The best and most lightweight solution for this is definitely Dear Imgui. There are a number of very good Imgui wrappers for Go but none of them seemed to fit my specific use case. Most of the wrappers available force you to use some kind of MasterWindow struct which abstracts the GLFW window away from the user. This is fine most GUI applications that use Imgui as the main library because it provides a good backend for any use case. The tricky part is that as the engine, we are the backend. The problem then becomes: how do we maintain an Imgui backend within the application in a way that allows us to keep full control over our OpenGL and GLFW context?
What was missing from many of these wrapper packages was a way to initialize an Imgui context and then connect an already existing GLFW window to the Imgui backend layer. The C++ version has a function that allows you to do this:
// Setup Platform/Renderer backends
ImGui_ImplGlfw_InitForOpenGL(window, true);
ImGui_ImplOpenGL3_Init(glsl_version);
I couldn’t find this function anywhere in the newest version of the packages, but I did find it in a really old commit of imgui-go. Once I extracted this into it’s own package and integrated it into the engine, I need to provide a way for the user to access it. For Mango, I don’t just want the Imgui layer to be used by internal engine components, but I also want those building games to have the ability to build their own debug tools. This sounds like a really niche feature to be implementing early on but it’s helped me immensely in development already so I’d imagine it would be helpful for game developers as well. Check out the package here.
The layer is exposed to the script when a struct implements the ImguiRenderer interface. This basically contains a RenderPanel() function that gets called every frame to render the panel. A user can then define their panel like so:
// import imgui-go
type TileMapDebug struct {
xOffset float32
yOffset float32
}
func (debugPanel *TileMapDebug) RenderPanel() {
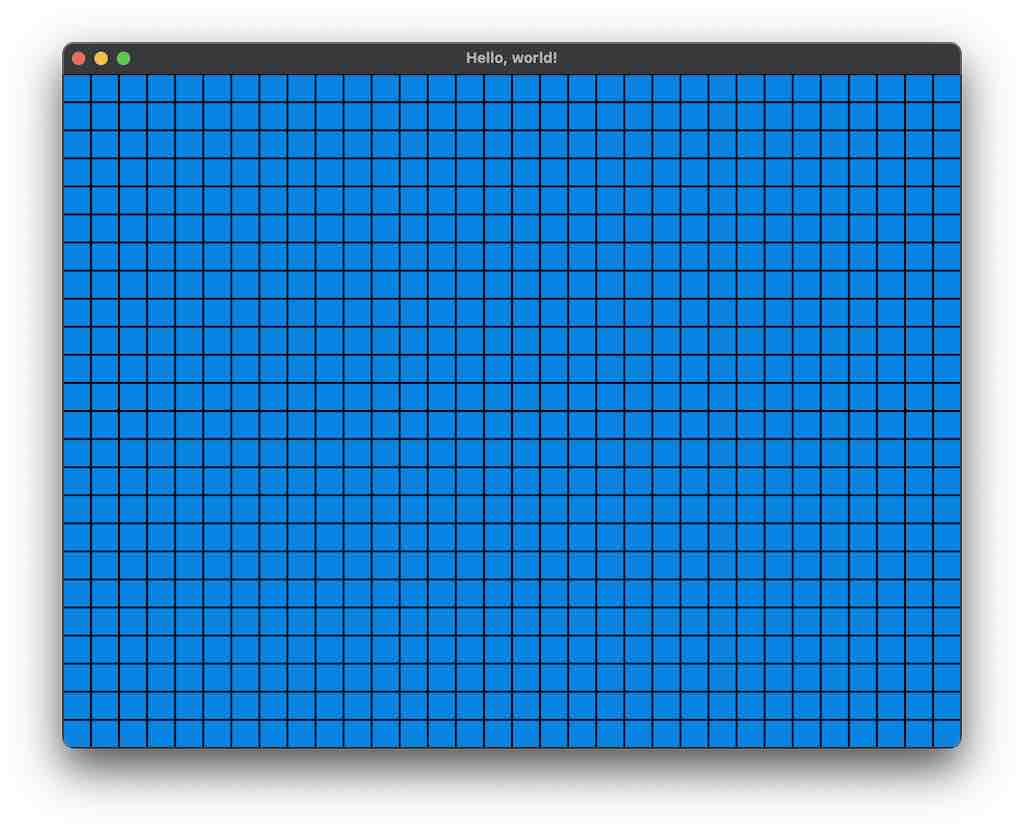
imgui.Begin("My Panel")
imgui.Text("Hello, world!")
imgui.End()
}
The user only ever has to worry about content related to the panel and should not have to deal with any Imgui backend logic. This also allows me to provide a basic GUI library without having to write my own for now. All the user has to do is register the panel when the scene attaches and set it to active.
Having this feature is extremely beneficial because users can start to build their own game-specific debug tools. Becuase the binding library I’m using has a lot of components, there are so many possible general or specific tools that users can build. For example, here is a basic tool I’ve developed for the Infinite Universe game so far that allow me to play around with universe generation:
Once I add more features to the core of the engine, I plan to provide a more standard debugging system including both internal and game layer logging support.
Immediate Mode vs Retained Mode Rendering
This is where Mango differentiates itself from other engines slightly. Mango supports both a traditional retained-mode rendering system as well as an immediate-mode graphics system. I think decision reflects my both a bit of indecisiveness on my part about the actual stucture of what I wanted to build but in the end, this turned out to be a good thing because gives the user more flexibility in terms of how they build their project. As mentioned before, the rendering mode is set when the engine is initialized at the beginning of the program.
I decided to start work on the Immediate Mode system first, because this was the easier system to model and I could get graphics up and running much faster. Immediate mode works similarly to many other frameworks like StdDraw or Processing. In immediate mode graphics systems, the user access the renderer directly in order to draw to the screen. This usually means calling some function like DrawRect or DrawText when you want to actually do any drawing. This is the same in Mango as well, except the user isn’t interacting directly with the renderer but a middle layer provided by the engine. Once the user specifies the rendering mode they want to use, the engine starts a game loop specific to that render mode. The IM system within Mango requires that scripts attached it implement the IM_SCRIPT interface. This includes the standard Init() and Update() functions, but now also requries a third Draw() function during which the actual drawing takes place and is called every frame:
func (scene *Scene) Draw() {
	// Draw a mint green square at 0, 0 with size 100px
	mango.IM.DrawRect(0, 0, 100, 100, util.MINT_GREEN)
}
This system allows users to build smaller scale 2D games much faster becase you can start drawing to the screen instantly and you don’t need to rely on any additional infrastructure to start building your game. Immediate mode is also perfect for those just starting to code. Small graphical applications take very few lines of code to get up and running, allowing you to focus on building your program instead of working with the engine.
The Immediate Mode rendering system within Mango is designed with flexibility in mind. So far, it comes with 3 individual, modular renderers: a QuadRenderer, SpriteRenderer, and CircleRenderer. The structure of programs using immediate mode is reliant on the user rather than Mango itself. Designing an API around this system becomes much easier because we aren’t tied down to an individual rendering pipeline for a specific primitive. That also brings me to my next point: the IM mode only supports 2D primititves and sprites. As support for 3D models gets integrated into the retained-mode system, this decision will be re-evaluated in the future but it meets my requirements for now.
The retained-mode rendering system within Mango, while more powerful, is a more standard system that users of Unity of Unreal Engine might be familiar with. This design choice was pretty easy to make because I haven’t really found a better way to approach scripting or entity management within the game. However, while this system works in a similar way to other engines, it relies on a data-oriented backend rather than a set of inherited classes. This means that behind the scenes, I need to build a collection of subsystems that each deal with their respective structs. In terms of rendering, the RenderSystem subsystem will need to support any type of entity within the game world that contains an implementation of the Renderable interface.
In order to use the retained-mode rendering system, you only need to attach the specific renderer component that applies to the entity . For the most part, this will just be a MeshRenderer component to render imported models as well as standard implementations of a SpriteRenderer and PrimitiveRenderer. After attaching a renderer, the engine takes care of the rest. This includes any work that needs to be done on the scene in general, like lighting.
The cool part about having both of these rendering modes completely abstracted within their own packages is that you can build a game using all the other modules and tools that Mango provides without being tied down to one rendering system from the beginning. In this way, small prototypes can start out using the Immediate Mode rendering system, and slowly evolve into more solidified projects that use the Retained Mode rendering system. This is similar to what I’m doing for the Infinte Universe game. Because Retained Mode isn’t complete, I’m building the game using Immediate Mode. This works because both rendering modes are modular and exists as packages at the root level, so you can pick and choose which other engine systems you want to use.
For example you could make use of the Entity Component System with Immediate mode by accessing an entity’s components:
type GameScene struct {
	player *Entity
}

func (scene *GameScene) Init() {
	// Initialize the scene
}

func (scene *GameScene) Update(deltaTime float64) {
	// Increase the x position of the entity's tranform component
	scene.player.transform.x += 10

	// You can even access your custom scripts
	customScript := scene.player.GetComponent("componentName")
}

func (scene *GameScene) Draw() {
	playerX := scene.player.transform.x
	playerY := scene.player.transform.y

	// Draw the square at the entity's position
	mango.IM.DrawRect(playerX, playerY, 100, 100, util.MINT_GREEN)
}
These systems are really at the core of the engine and determine how you interact with it at every level.
Conclusion
That pretty much goes over the most important notes and details of development of the project so far. I’m sure I’ll cover other areas at some point but because nothing is finalized, it would be pointless to do that now. I’m pretty happy with the direction this project is heading in at the moment. Here are some of the upcoming modules for the project that I plan to implement in the coming weeks alongisde making progress on the Infinite Universe game.
- Keyboard Input: I need to implement an easy way to determine whether a specific key is pressed
- Completed ECS: The Entity Component system needs to be finished. This is probably the biggest task that needs to get done at the moment.
- Batch rendering: Right now, every renderable entity in the world uses it’s own draw call. This is fine for small amounts of primitives with small amounts of vertex data but becomes problematic for larger scenes with more complex geometry.